Overview
In this quickstart, you’ll:- Sign up for a free Formbricks account
- Choose your survey type and complete onboarding
- Create your first survey from a template
- Configure and publish your survey
- Share it and collect responses
This guide uses Formbricks Cloud for the fastest setup. You can also self-host Formbricks if you prefer.
Step-by-Step Walkthrough
Create Your Formbricks Account
Navigate to app.formbricks.com/auth/signup and create your free account.You can sign up with: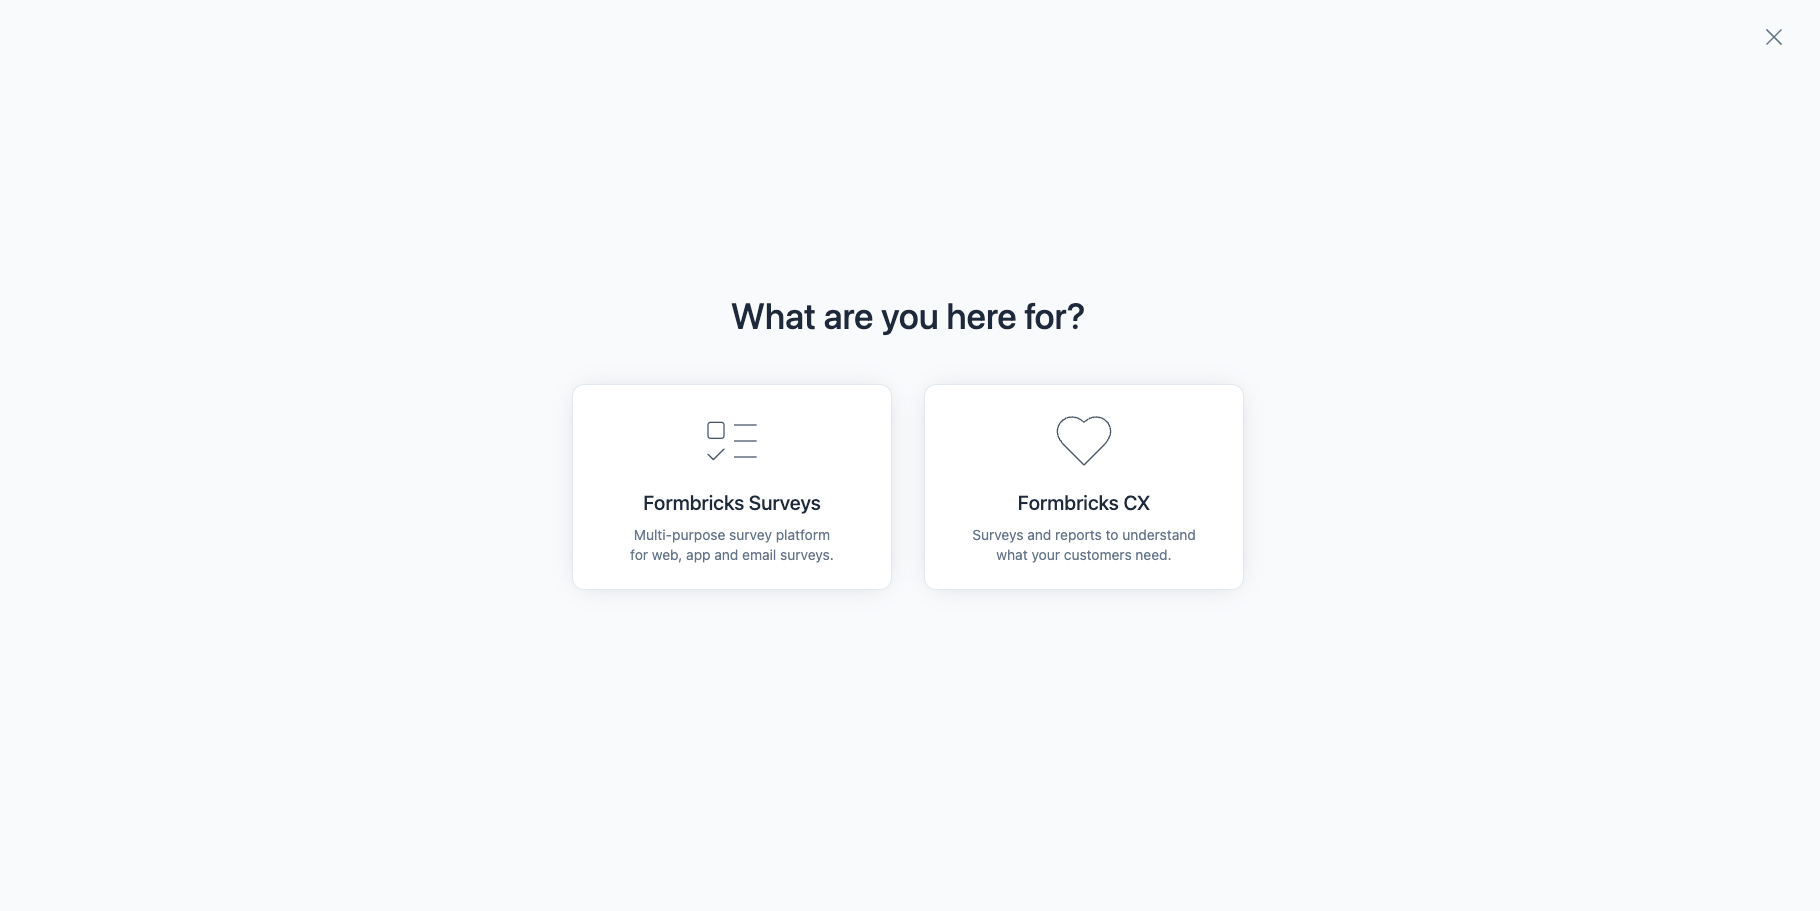
- Email and password
- Google OAuth
- GitHub OAuth
Choose Your Survey Type
Formbricks offers two main survey types:Link Surveys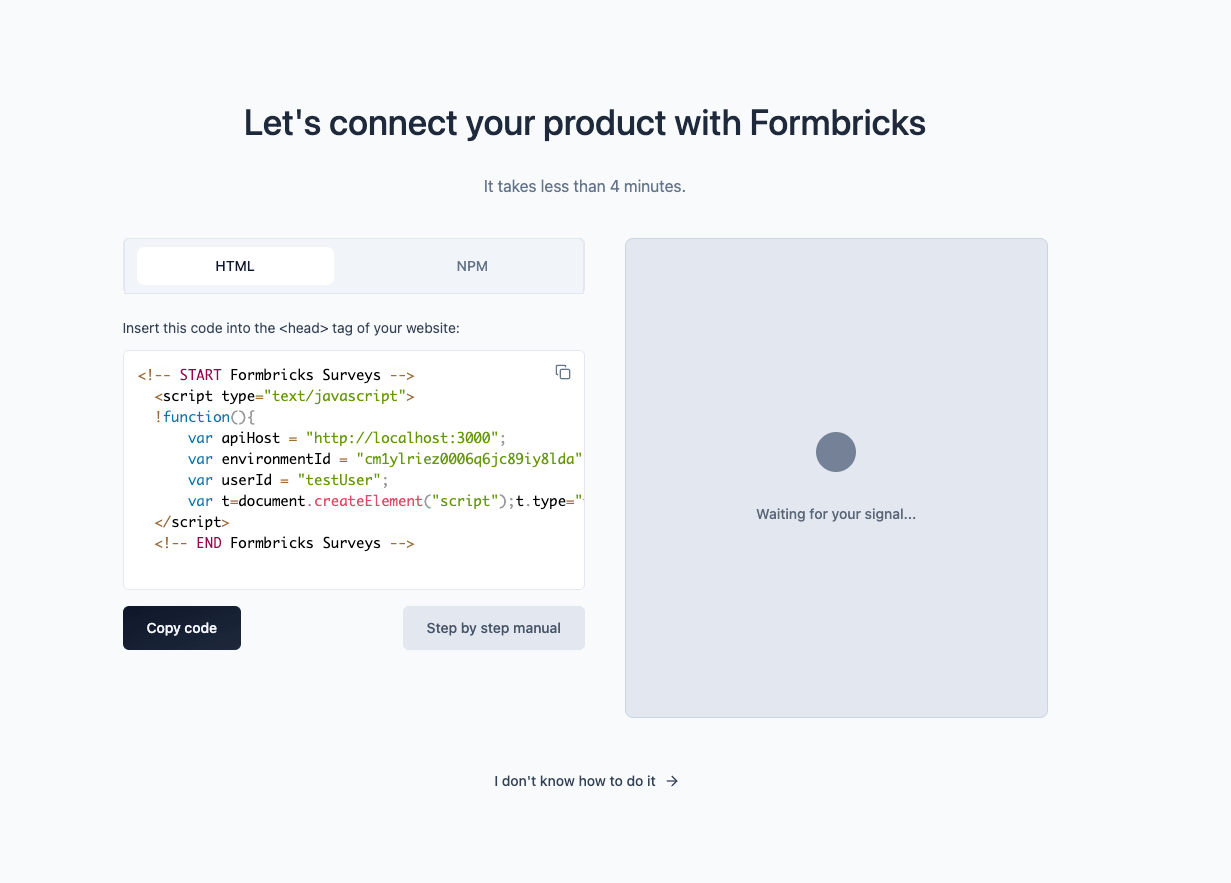
- Share via email, SMS, or social media
- No technical setup required
- Great for reaching users outside your app
- Best for: Customer research, NPS, market surveys
- Embedded directly in your app or website
- Triggered by user actions (page views, button clicks)
- 6-10x higher response rates
- Best for: Feature feedback, onboarding, in-app NPS
Complete Environment Setup
Formbricks automatically creates your first Organization and Project. Each project has two environments:If you selected In-Product Surveys, follow the instructions to install the Formbricks SDK:Once Formbricks receives data from your app, you’ll see a confirmation: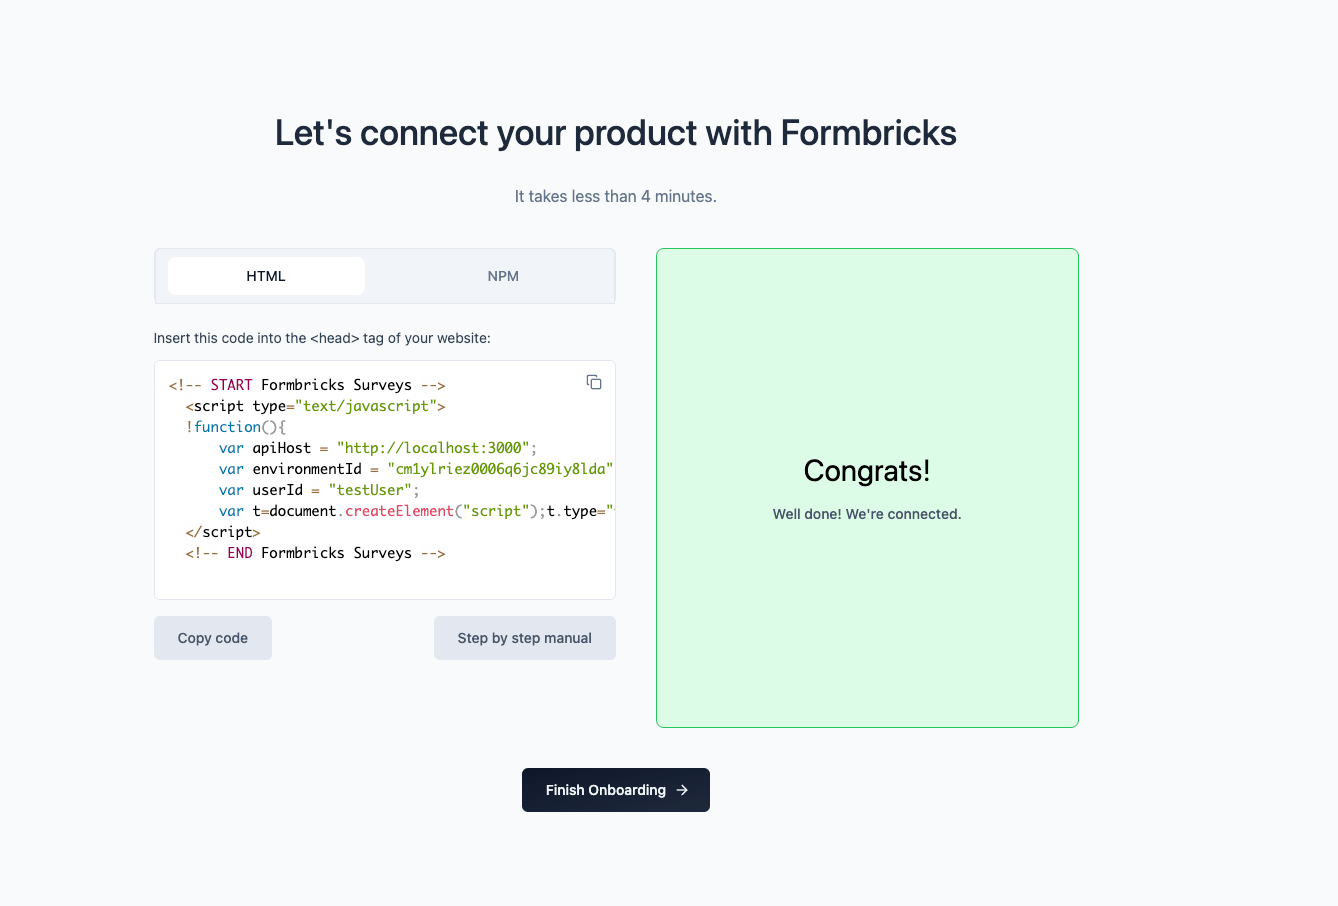
- Development: For testing surveys before going live
- Production: For real user data
Environments are isolated data containers. Surveys, contacts, and responses in Development never mix with Production data. Learn more in Concepts: Environments.
Create Your First Survey
After completing setup, you’ll see a gallery of pre-built survey templates: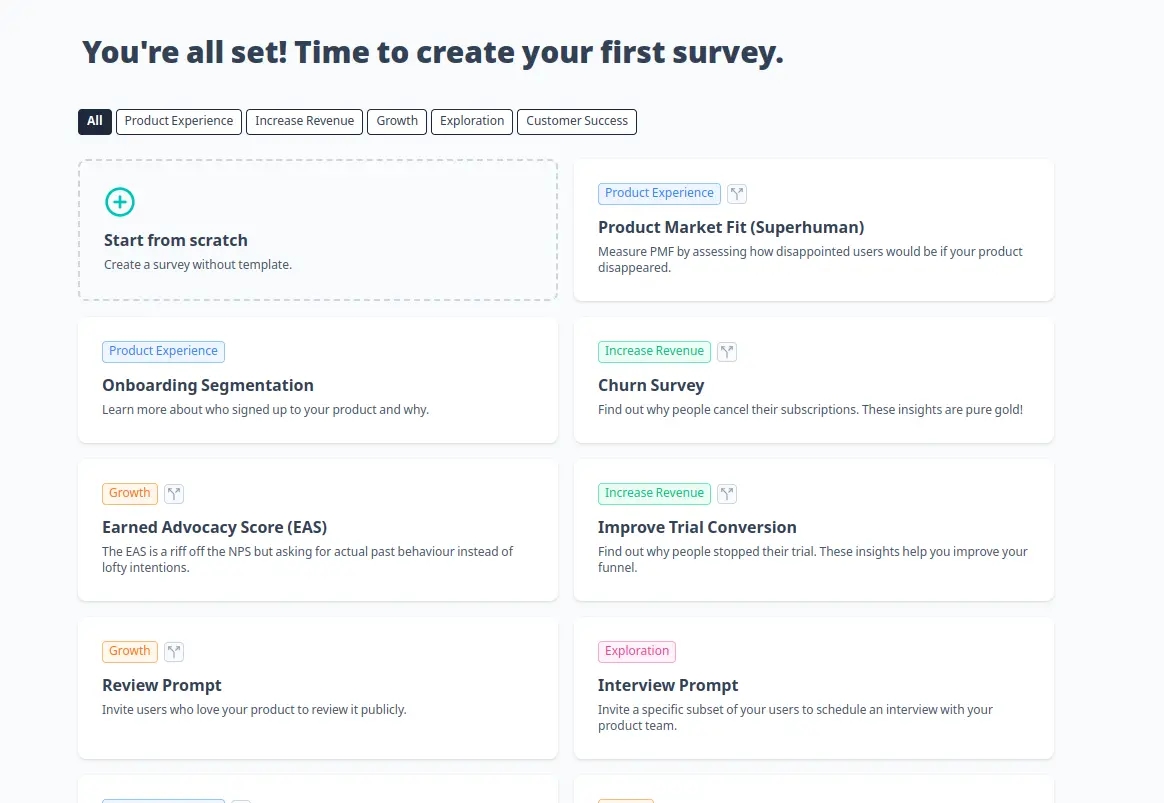 Popular templates include:
Popular templates include:- Product-Market Fit (PMF): The Sean Ellis test
- Net Promoter Score (NPS): Measure customer loyalty
- Feature Chaser: Identify must-have features
- Onboarding Experience: Optimize your first-run flow
- Interview Recruitment: Find users for research
- Edit questions and answer options
- Add or remove questions
- Customize the welcome card and ending message
- Add logic jumps and branching
Configure Survey Settings
Click the Settings tab to configure how and when your survey appears.Recontact Options
Key Settings for Link Surveys
Survey Status- Set to In Progress to publish your survey
- Draft: Survey is not accessible
- Paused: Temporarily stop collecting responses
- Completed: Archive the survey
- Set a specific end date
- Close after X responses
- Leave open indefinitely
- Redirect users after completing the survey (e.g., to a thank-you page)
- Add a PIN to restrict access
- Enable email verification
- Limit to one response per email
Key Settings for In-Product Surveys
Survey Trigger- Add actions that trigger the survey (e.g., “Page View”, “Button Click”)
- For testing, use Page View to show the survey on any page load
Recontact Options- Control how often users see surveys to avoid fatigue
- For testing: Set to “Display multiple times” and “Show again immediately”
- Target specific users based on attributes (e.g., plan type, location)
- Filter by user actions (e.g., visited pricing page 3+ times)
- Leave empty to show to everyone
Style Your Survey
Click the Styling tab to customize your survey’s appearance:
- Survey Type: Choose card, form, or full-screen layout
- Brand Color: Set your primary color
- Background: Solid color, gradient, or custom image
- Question Layout: Single question per page or multiple
- Progress Bar: Show completion progress
- Formbricks Branding: Remove branding on paid plans
Publish Your Survey
Once you’re happy with your survey, click the Publish button in the top-right corner.Your survey is now live! You’ll be redirected to the Survey Summary page where responses will appear in real-time.
For in-product surveys: Changes can take up to 1 minute to appear in your app due to caching. Enable Debug Mode to troubleshoot.
Share Your Survey & Collect Responses
For Link Surveys
Copy the survey link from the Summary page and share it via:- Email campaigns
- Social media posts
- In-app notifications
- QR codes for physical locations
- SMS messages
https://app.formbricks.com/s/your-survey-slugFor In-Product Surveys
Your survey will automatically appear to users when the trigger conditions are met (e.g., when they view a page or click a button).Testing your in-product survey:- Open your app in a browser
- Open the browser console (F12)
- Look for Formbricks debug messages (if debug mode is enabled)
- Perform the trigger action (e.g., load a page)
- The survey should appear
View and Analyze Responses
As responses come in, you’ll see them on the Survey Summary page:Summary Tab
- Response count and completion rate
- Question-by-question breakdown
- Charts and visualizations
- Response timeline
- Individual response details
- Filter and segment responses
- Tag responses for organization
- Export to CSV or connect to external tools
- AI-powered response analysis
- Sentiment detection
- Common themes and patterns
What’s Next?
Congratulations! You’ve created and published your first Formbricks survey. Here’s what to explore next:Understand Core Concepts
Deep dive into surveys, environments, contacts, and responses
Set Up Integrations
Connect Formbricks to Slack, Zapier, Notion, and more
Explore Advanced Features
Logic jumps, quotas, multi-language surveys, and more
Browse API Docs
Programmatically create surveys and fetch responses
Need help? Join our GitHub Discussions or Discord community for support from the team and other users.